

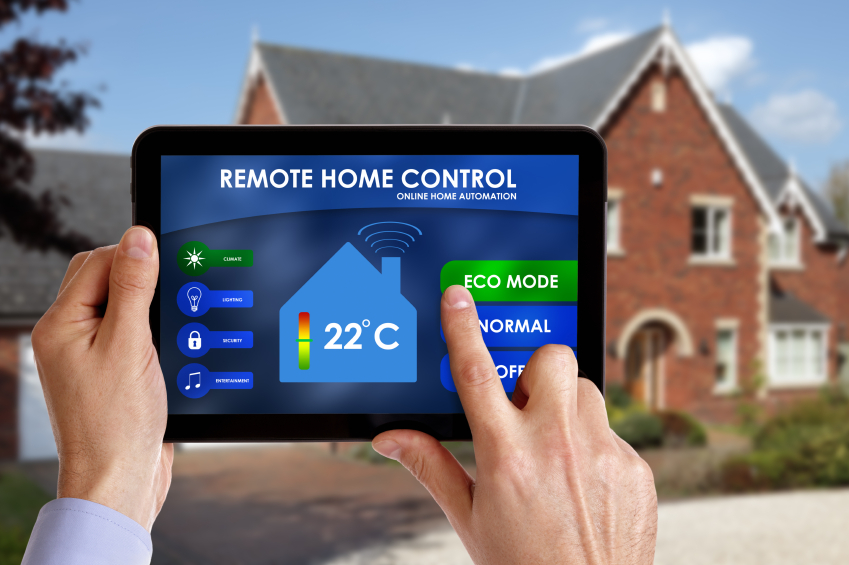
How to Install a Honeywell Wi-Fi Thermostat
Congratulations! You’ve made the decision to upgrade to a Wi-Fi thermostat. You’ll now have smarter control over your home’s temperature and be able to access the thermostat controls from anywhere.
But first, you need to know how to install a Honeywell Wi-Fi thermostat. Here’s our helpful installation guide that walks you through each step, from start to finish.
3 Steps to Install a Honeywell Wi-Fi Thermostat
The installation process involves three primary steps:
- Removing the old thermostat
- Connecting the new device
- Setting up the thermostat’s controls
Step 1: Removing the Old Thermostat
Before you take any steps to dismantle your old thermostat, turn off the power to the HVAC system and the thermostat by switching off the corresponding breaker on your home’s circuit breaker panel. Now, you’re ready to begin. Here are the next steps:
- Gently coax the thermostat’s front-facing panel off the mount, being careful to keep the wire connections intact.
- Look at the various, different color wires connected to the terminals.
- Look at the wiring labels on the thermostat.
Now, you have two options. You can use labels on the thermostat to label each wire on the panel (as explained in the steps below); this will help you correctly install the wires to the new thermostat’s terminals later. Alternatively, you can take a picture of the wiring for future reference.
Whichever method you choose, just be sure that you don’t remove the wiring to apply the labels. Instead, gently pull each of the wires out to get enough clearance to wrap the label around it.
As you label the wires, look for and label the:
- “C” wire, which provides power to the thermostat
- Jumper wire, which is designed to connect the “R” and “RC” wires
- Remaining wires, which will let you easily connect the proper wires to the corresponding terminals
Once you’re finishing with the labeling, use a screwdriver to loosen the terminals so that the wires are no longer connected. Then:
- Remove the wall plate of the old thermostat
- Gather the wires coming out of the hole in the wall
- Give them a twist to prevent them from slipping back into the wall, being careful so the labels don’t come off in the process
Step 2: Connecting the New Thermostat
Now, it’s time to install your new thermostat. To do this:
- Unpack the new thermostat, making sure you have all of the components identified in the manual (like the user guide, wall anchors, etc.).
- Work in reverse to install the wiring.
- Take the new thermostat and separate the wall plate from the front.
- Put the wall plate on the wall, making sure it’s level. Secure the wall plate using the screws.
- Look at the plate and start connecting the wires to the corresponding terminals. Then, tighten the screws to the terminals.
- If the wiring is not taut, gently push the wires into the center of the wall plate so you can put the cover on.
- Insert the coin-like battery into the slot at the bottom right-hand corner of the thermostat.
- Put the cover on.
- Restore power to the thermostat and HVAC system.
Now, the thermostat’s digital display should come on, indicating the unit has power.
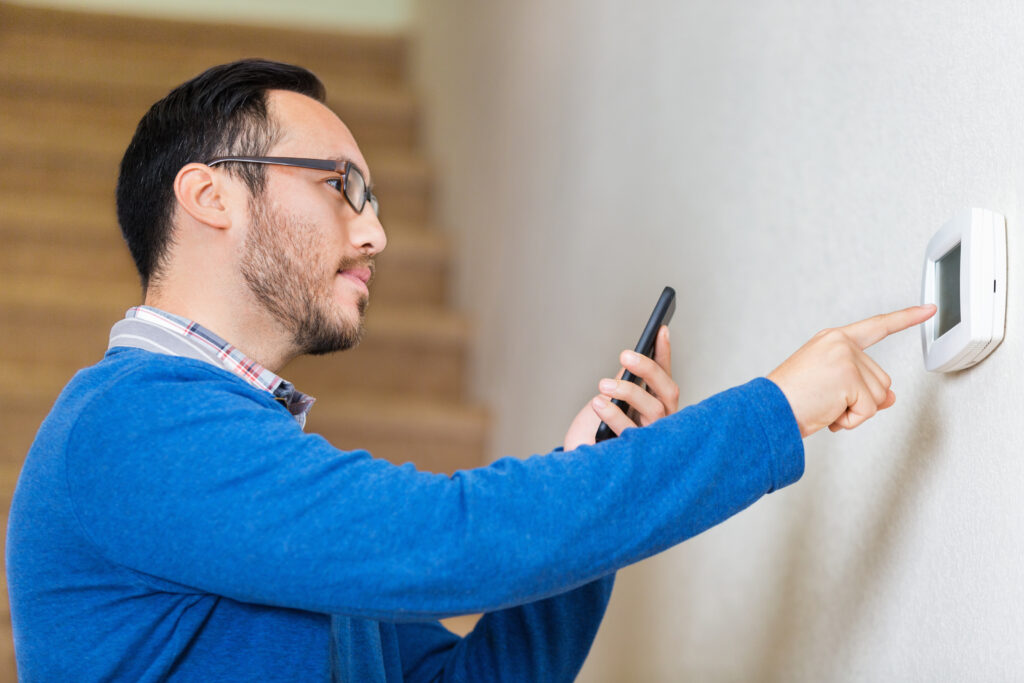
Step 3: Setting Up the Thermostat’s Controls
Before you start with this step, take some time to thumb through the user guide so you know where and how to start setting up the controls. One of the first things you should set up is the “system type” function. This needs to be done before setting up the Wi-Fi connection. It will also help ensure the HVAC systems will work properly.
Here’s how to set the “system type” function:
- Press “system.”
- Hold down the middle button on the bottom of the screen. Please note that all of the buttons at the center bottom are intentionally blank.
- Continue pressing the system button until the screen changes.
- Then, select function 0170 by scrolling through the “up” or “down” arrows.
- Be aware that the default setting is for a single-stage furnace and air conditioning. So, if you have another system type, such as a two-stage HVAC or a heat pump, keep scrolling through the arrows until you see your system type. The user manual will also list the types of systems with their corresponding code.
- Press “done,” on the left-hand, lower side of the screen once you’ve found your system type.
You can now follow the user manual to set up the date and time, as well as the Wi-Fi connection. Now, you’re ready to set up any other controls you would like and start putting your new Honeywell Wi-Fi thermostat to good use!
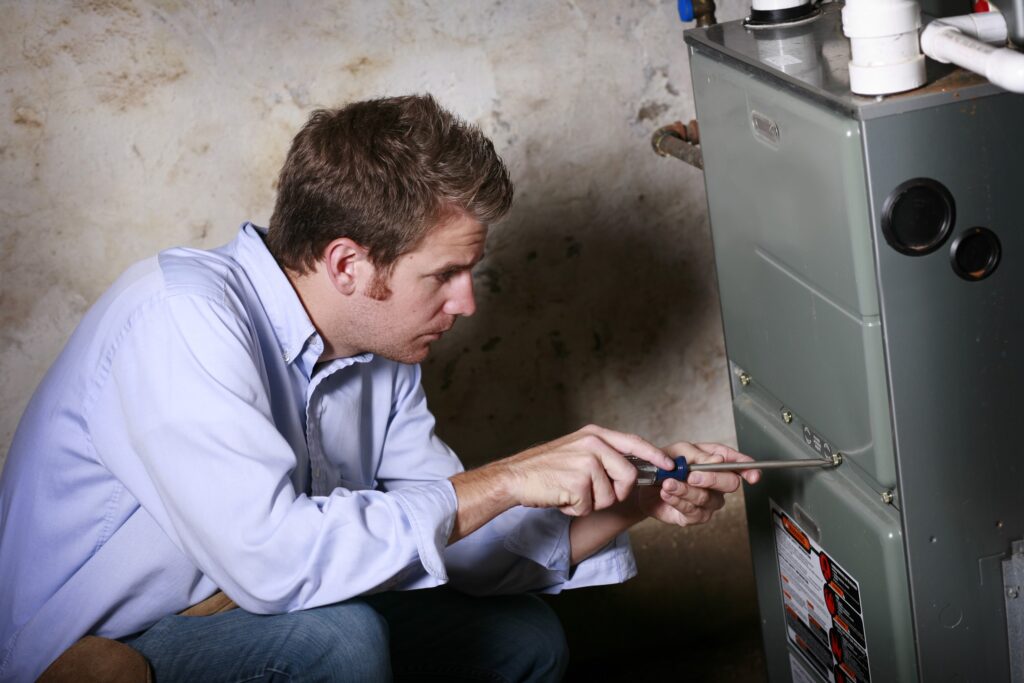
If you any questions about how to install the thermostat or you prefer to have professional help with the installation, contact Jacob Heating & Air Conditioning today!
Just call (386) 337-3502 or contact us online for helpful answers and fast, reliable service.
We proudly serve our neighbors in West Volusia County, providing air conditioning, furnace, and heat pump solutions, as well as dehumidifiers and indoor air quality services.

Wow! What an honest and fair price company. They did what they said, showed up when they said and never treated me like I was just a job! I deal with many contractors and this by far was the best experience! I strongly recommend this company!
Tonia G.We just had a new air conditioning system installed in our condo. JD and Pablo were real professionals, and worked quickly and efficiently. The installed unit looks clean and neat. Great job!
Philip R.The service provided by jacobs heating and air conditioning was great. They have been in business for along time and I can see why. They arrived for the service exactly on time. The service cost estimate was right on target. The technicians John, j.o., and Pablo were very efficient and explained what they did in a very easy to understand dialog. We are definitely going to use jacobs for future hvac servicing and maintenance.
Charles B.
help you! Contact Jacob Heating & Air Conditioning for All
your Comfort needs


At Jacob Heating & Air Conditioning, our passion for customer service and the quality of our work is deeply ingrained in our company culture. We're not just committed to helping our customers; we put our reputation on the line with every job we undertake.
Our team takes pride in our work and backs it with excellent service guarantees for our customers in West Volusia County and the surrounding areas. These guarantees include:
- One-year guarantee on HVAC repairs
- Prompt service for every visit
- Cleanliness on the job
- Complete customer satisfaction